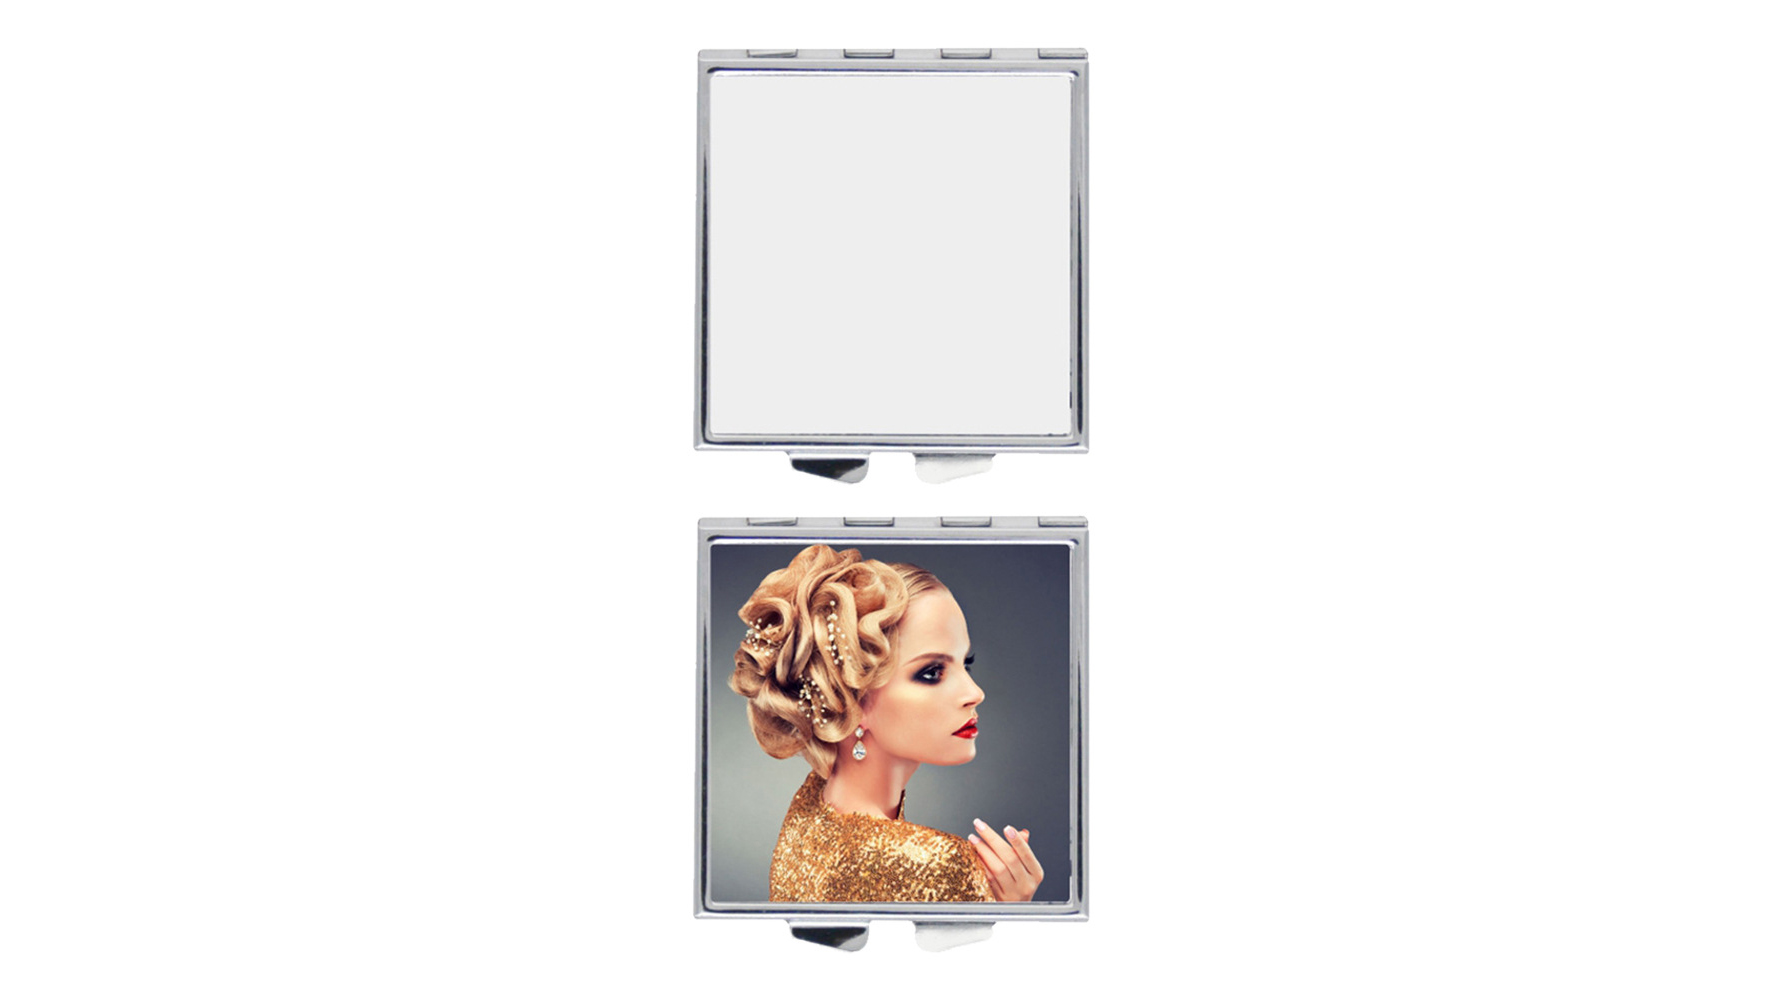
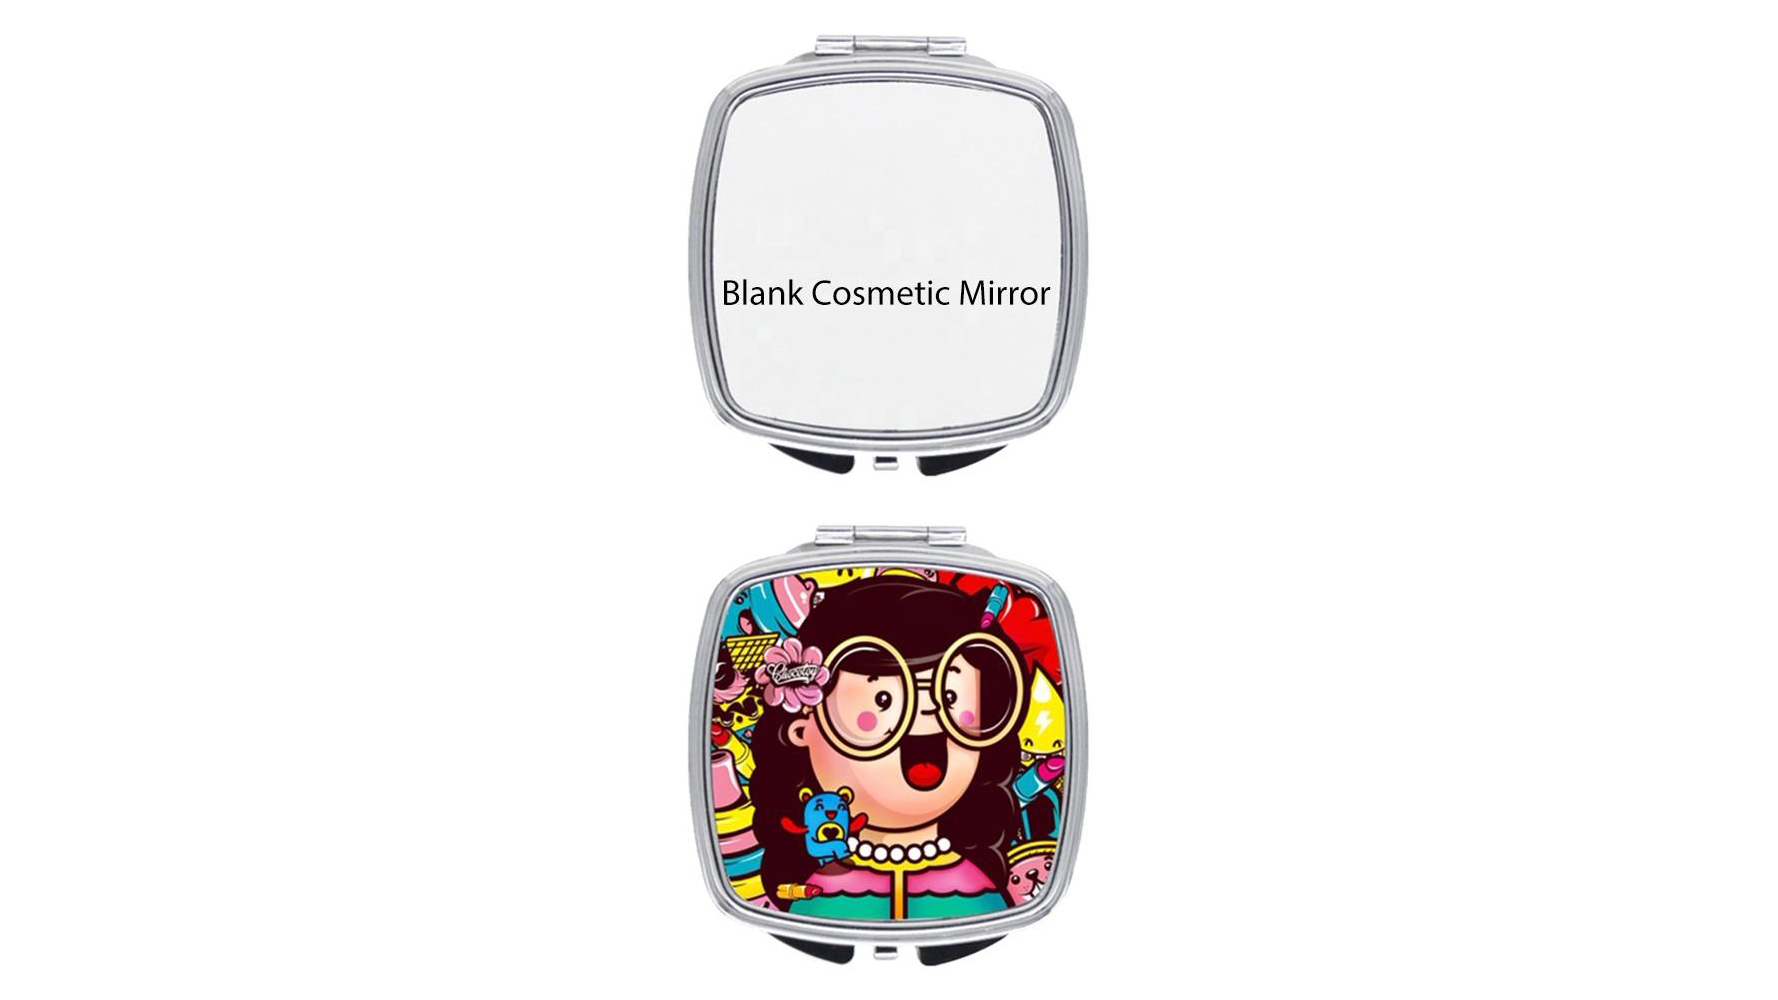
Você pode transformar um espelho simples em um espelho de maquiagem de sublimação legal com etapas fáceis de sublimação. Dessa forma, você pode fazer um espelho que combine com seu estilo. Muitas pessoas escolhem a sublimação porque ela cria designs brilhantes e duradouros. Um espelho de maquiagem de sublimação fica especial em qualquer penteadeira. Você aprenderá como é simples usar esse método em casa. > Este guia mostra como fazer um espelho que pareça pessoal. Experimente fazer um espelho de maquiagem de sublimação e veja a mudança.
Takeaways -chave
Escolha um espelho com revestimento de sublimação ou inserção de alumínio. Isso ajuda seu design a permanecer e durar mais.
Limpe bem o seu espelho antes de começar. Adicione um revestimento se necessário. Isso ajuda suas imagens a parecerem brilhantes e claras.
Vire seu desenho de lado antes de imprimi-lo. Isso garante que fique bem no espelho.
Use as configurações corretas de prensa térmica. Defina-o para cerca de 180°C (356°F) por 60 segundos. Use pressão média para obter os melhores resultados.
Deixe o espelho esfriar completamente antes de retirar o papel. Isso evita manchas e mantém seu design nítido e colorido.
Materiais para espelho de maquilhagem de sublimação
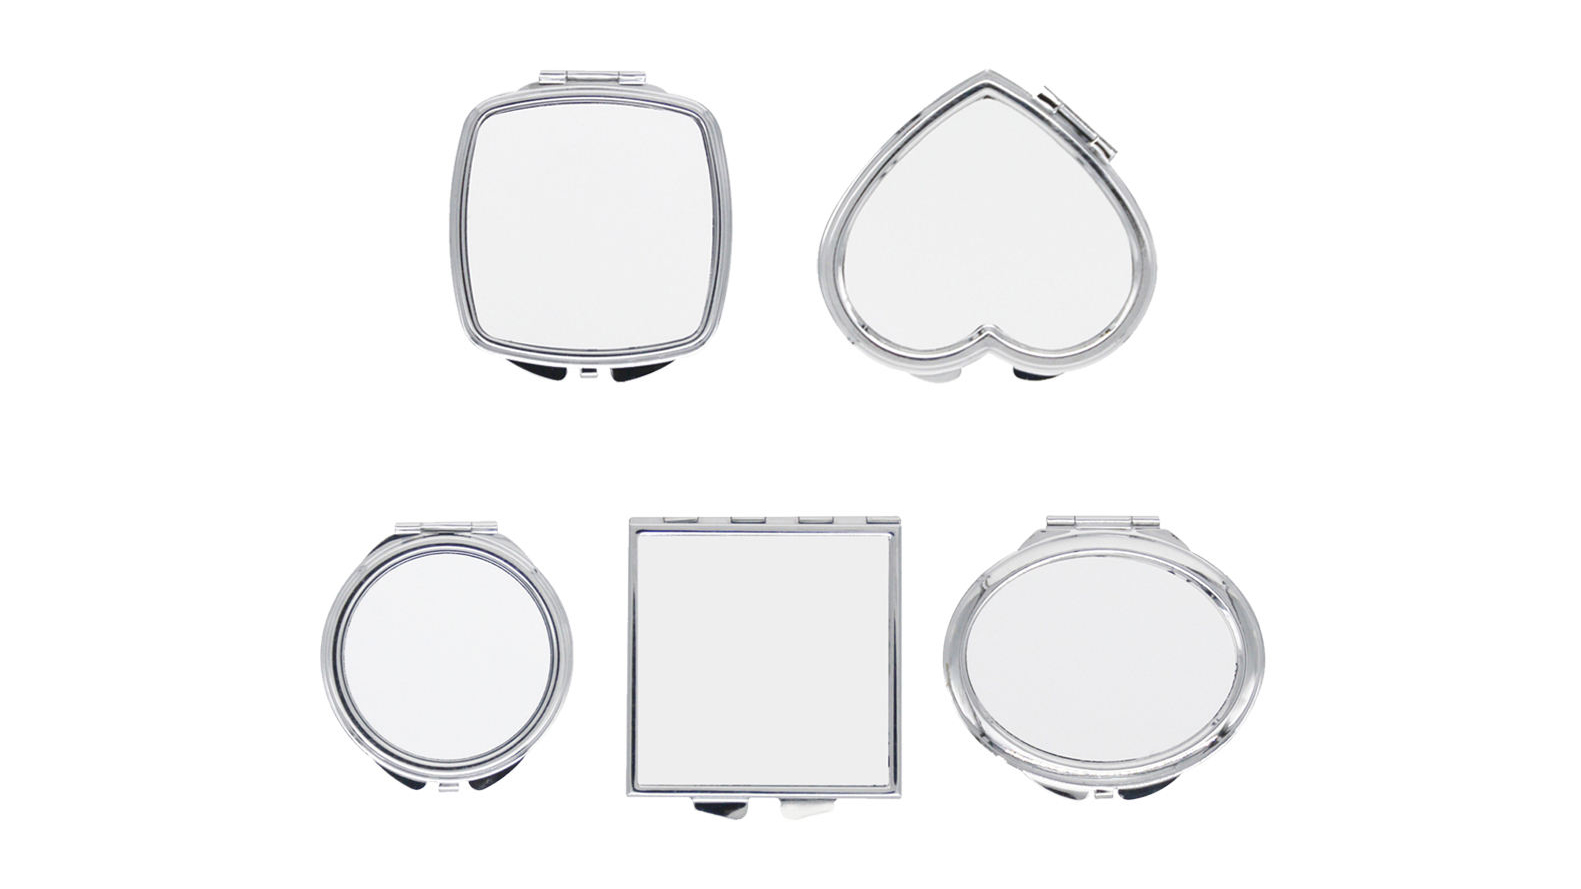
Tipos de espelho e espaços em branco
Você precisa do tipo certo de espelho para este projeto. Nem todos os espelhos funcionam com sublimação. Escolha um espelho que tenha um revestimento especial para sublimação ou use um inserto de alumínio feito para ele. Esses espaços em branco ajudam a tinta a aderir bem, para que seu design permaneça brilhante e dure mais. Muitas pessoas usam placas de alumínio com revestimentos espessos. Estas placas conferem um aspecto suave e cores fortes. Você pode comprar esses espelhos em branco em lugares como Unisub ou Heat Transfer Warehouse. Certifique-se sempre de que o espelho em branco seja para sublimação. Se você escolher o errado, a imagem não será bem transferida do papel.
Dica: limpe o espelho antes de começar. Sujeira ou óleo podem atrapalhar seu design.
Equipamento de sublimação
You need a few main tools for this mirror project. First, get a sublimation printer. This printer uses ink that turns into gas when heated. You also need sublimation paper. Print your design on this special paper. The paper holds the ink until you press it onto the mirror. Use a heat press to add heat and pressure. The heat press moves the ink from the paper to the mirror. Heat-resistant tape keeps the paper in place. This way, your mirror gets a clear and colorful image. Scientists use similar sublimation steps to make crystals and images. This shows the equipment works well.
Safety Essentials
A segurança é importante ao usar uma prensa térmica e papel de sublimação. Use luvas que protejam as mãos do calor. Trabalhe em uma sala com ar fresco. Sempre siga as regras de segurança para sua prensa térmica e impressora. Procure ferramentas com marcas de segurança como UL ou CE. Essas marcas significam que as ferramentas são seguras para uso. Leia as fichas de segurança do seu papel e tinta de sublimação. As fichas informam sobre os riscos e como usar os materiais com segurança. OSHA e outros grupos diga para usar equipamentos de segurança e manter os planos de segurança prontos. Isso ajuda você a ficar seguro ao fazer seu espelho personalizado.
Preparando o Espelho
Limpeza e preparação
Start by making sure your mirror is spotless. Use a soft, lint-free cloth to wipe away dust, fingerprints, or oils. You can use a small amount of rubbing alcohol on the cloth for stubborn spots. Clean surfaces help the sublimation process work better. If you leave dirt or oil, the image may not transfer well. Always check the edges and corners of the mirror. These areas often collect dust. A clean mirror gives you the best chance for a bright and even sublimation result.
Tip: Wear gloves while cleaning to avoid leaving new fingerprints on the mirror.
Applying Coating (If Needed)
Some mirror blanks come ready for sublimation. Others need a special coating. If your mirror does not have a coating, you must apply one. Research on direct to metal coatings shows that good surface wetting and adhesion are key for a strong bond. You can use a spray, brush, or roller to apply the coating. Make sure the mirror surface has a higher surface tension than the coating. This helps the coating stick well. Lightly sanding the mirror can help with this. The right coating and method can improve how the sublimation image looks and lasts. Studies also show that the way you apply the coating affects the thickness and how well the sublimation works. Automated systems give even layers, but you can get good results by hand if you work carefully.
Drying Tips
Let the coated mirror dry fully before you start sublimation. Place the mirror in a dust-free area. You can set it on a clean rack or hang it if possible. Good airflow helps the coating dry faster and more evenly. Do not rush this step. If the coating feels tacky, wait longer. A dry, smooth surface is important for a sharp sublimation image. Some coatings may leave a slight trace after sublimation, but you can wipe this away with a soft cloth. Always check the coating instructions for drying times. A well-prepped mirror makes the sublimation process easier and gives you a better final product.
Sublimation Design Steps
Creating or Choosing Artwork
You can make your own design or pick one you like. Many people use graphic design software for this step. Programs like Adobe Illustrator or Photoshop help you make good images. Use a high-resolution file, such as PNG or TIFF, at 300 DPI or more. This makes your design look clear and bright after sublimation. If you add words, choose fonts that are easy to read. You can also find designs online that work well for sublimation. Always check if your design fits the mirror blank size.
Tip: Pick bright colors and bold shapes. Strong and clear images work best for sublimation printing.
Mirroring the Image
You need to flip your design before printing. Este é um passo muito importante na sublimação. A imagem será invertida quando você colocá-la no espelho. Se você esquecer de virá-lo, sua impressão ficará para trás. A maioria dos programas de design possui um botão “espelho” ou “virar horizontal”. Você também pode usar papel vegetal ou uma caixa de luz para ajudar. Algumas máquinas de corte, como Cricut ou Silhouette, podem virar o texto para você. Sempre verifique se sua imagem está espelhada antes de imprimir.
Inverter o design garante que o texto e as imagens tenham a aparência correta após a sublimação.
Pressionar o design espelhado ajuda tudo a aparecer corretamente no seu espelho.
Nota: Sempre espelhe seu design antes de imprimir. Caso contrário, sua imagem poderá parecer invertida ou difícil de ler.
Impressão com tinta de sublimação
Now you can print your design. Use a printer made for sublimation and fill it with sublimation ink. Print your mirrored image onto special sublimation paper. This paper holds the ink until you use heat to move it. Sublimation ink sticks to the coated mirror and gives bright, lasting colors. Heat turns the solid ink into gas, which bonds to the mirror. Sublimation printing makes smooth color changes and fine details. Your finished mirror will keep its color and look nice, even after many uses.
Sublimation works best with white or light-colored coated blanks.
Different sublimation papers can help you get the best results for your mirror.
Tip: Adjust your printer and heat press settings. This helps you get the best colors when you print with sublimation.
Sublimation Process
Aligning and Securing Design
You need to place your printed design on the mirror blank with care. Proper alignment is important in sublimation. If you do not line up the design, the final image may look crooked or off-center. Use a ruler or a template to help you get the right spot. Many people use a light table or hold the blank up to a window to check placement.
Place the sublimation paper face down on the coated side of the mirror.
Make sure the edges of the design match the edges of the mirror blank.
Use small pieces of heat-resistant tape to hold the paper in place. This tape keeps the design from moving during the heat press process.
Dica: Não use muita fita. Muita fita pode bloquear o calor e causar impressão de sublimação irregular.
A impressão por sublimação funciona melhor quando você usa os materiais certos. Escolha sempre espaços em branco espelhados com revestimento de polímero. Este revestimento ajuda a tinta de sublimação a aderir à superfície. Se você usar o espaço em branco errado, a imagem não será bem transferida. As tintas de sublimação são translúcidas, por isso ficam melhor em espaços em branco ou de cores claras.
Muitas empresas usam essas etapas para branding. Por exemplo, um café local usou impressão por sublimação para adicionar seu logotipo às toalhas de mesa. Eles fizeram questão de alinhar cada logotipo cuidadosamente. Seus designs permaneceram brilhantes e duraram mesmo no uso externo. Você pode obter os mesmos resultados seguindo estas etapas de alinhamento.
Configurações de prensa térmica
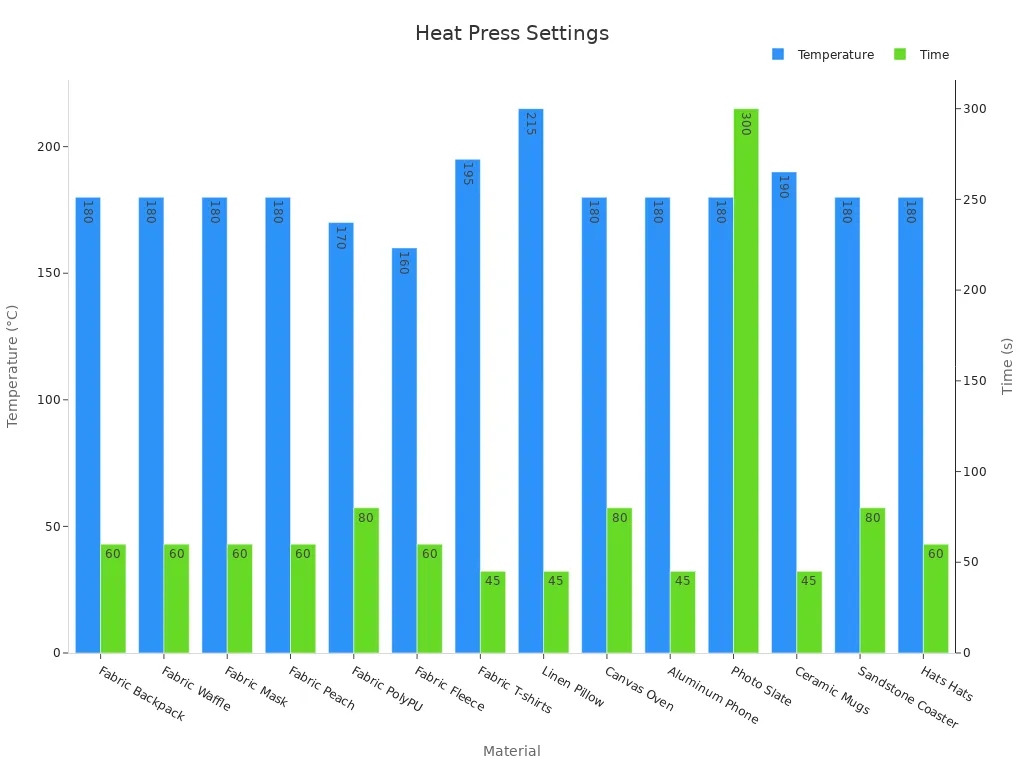
The heat press is the heart of the sublimation process. You need to set the right temperature, time, and pressure. If you use the wrong settings, the image may look faded or blurry. For most mirror blanks, set your heat press to 180°C (356°F). Press for about 60 seconds with medium pressure. These settings help the sublimation ink turn into gas and bond with the mirror coating.
Here is a table with common heat press settings for different materials:
Material Type | Example Substrate | Temperature (°C) | Tempo (segundos) | Pressure Level | Notes/Remarks |
|---|---|---|---|---|---|
Aluminum Sheet | Casos de telefone | 180 | 45 | Médio | - |
Fabric | Backpack | 180 | 60 | Médio | - |
Tela | Oven Mitt | 180 | 80 | Médio | - |
Photo Slate | Small Size | 180 | 300 | Light | - |
Cerâmica | Canecas | 190 | 45 | Médio | - |
For mirror blanks, always use the settings for aluminum sheets. This gives you the best results for sublimation printing.
Note: Too much heat or pressing time can damage your mirror. Not enough heat or time can cause the image to look faded. Always follow the recommended settings for your heat press.
Sublimation printing needs even pressure. Make sure the heat press closes flat on the mirror blank. If the pressure is uneven, the colors may not transfer well. Some heat presses have a knob to adjust pressure. Set it to medium for most mirror blanks.
Cooling and Paper Removal
After the heat press finishes, you need to let the mirror cool. Do not remove the sublimation paper right away. The ink is still hot and can smudge if you touch it too soon. Place the mirror on a heat-safe surface and wait a few minutes.
Wait until the mirror feels cool to the touch.
Gently peel off the sublimation paper. Start at one corner and pull slowly.
Check your design. The colors should look bright and clear.
Tip: If you see any residue from the paper, wipe it away with a soft, dry cloth.
Cooling is a key step in sublimation. When the mirror cools, the sublimation ink changes from gas back to solid. This locks the design into the coating. If you rush this step, you may ruin your hard work.
Sublimation printing gives you a custom mirror that looks professional. You can use these steps for other projects too. Many people use sublimation for gifts, branding, and home décor. The right process helps your designs last a long time.
Mirror Sublimation Tips & Troubleshooting
Erros Comuns
You might have some problems when doing mirror sublimation. Images can look blurry or faded if the heat or pressure is wrong. If your design is missing parts, you may not have pressed it long enough. Sometimes, the ink does not stick to the mirror. This happens if you use the wrong blank or forget to clean it. Cracks or burn marks can show up if the temperature is too high. If you take off the paper before the mirror cools, the design might peel.
Tip: Always check your settings and use the right blanks for mirror sublimation to get the best results.
Fixes and Solutions
You can solve most sublimation problems with easy steps:
Raise the temperature by 10–15°F and press for 30 seconds longer if your image looks faded or missing.
Use blanks that already have a coating or spray on a thin layer to help the ink stick.
Try high-release transfer paper to stop ink from staying on the paper.
Lower the temperature to 350°F and press for less time if you see cracks or burn marks.
Pick blanks that are at least 3mm thick so they do not get damaged.
Press your mirror for 5–10 seconds before starting to get rid of moisture.
Change your printer to high saturation and use good matte paper for brighter colors.
Let the mirror cool all the way before you take off the paper to stop peeling.
You can also join online groups about sublimation. Many people share helpful tips for mirror sublimation in these groups.
Display and Gift Ideas
There are many ways to show your finished mirror. Sublimation makes prints that stay bright and do not peel or fade. Put your mirror on a vanity, hang it on a wall, or use it on your desk. These mirrors are great gifts for birthdays, holidays, or special days. People like getting custom gifts, and mirror sublimation lets you make special designs. This method works well for home décor and gifts because the prints stay strong and colorful.
Put your mirror in a pretty frame.
Wrap it as a special gift for someone you care about.
Keep it as a memory from a special day.
Note: Sublimation mirrors look nice and are useful. They keep their color and shine for a long time.
Now you know how to make a plain mirror special. This guide taught you every step, like picking materials and finishing your design. You learned that sublimation makes bright and lasting images. Try making your own sublimation make-up mirror to see what you can do. Show your finished mirror to friends or family. Keep trying new sublimation projects to learn more and have fun.
Perguntas frequentes
Can I sublimate on any mirror?
You need a mirror with a special sublimation coating or an aluminum insert. Regular glass mirrors do not work because the ink will not bond. Always check the product label before you start.
What printer do I need for sublimation?
You need a printer made for sublimation ink. Regular inkjet printers will not work. Popular brands include Sawgrass and Epson EcoTank models. Make sure you use sublimation ink and paper for the best results.
Why does my image look faded after pressing?
Your image may look faded if the temperature or pressing time is too low. Try increasing the heat by 10–15°F or pressing for 10–20 seconds longer. Always check your heat press settings before you start.
How do I clean my sublimation mirror?
Use a soft, dry cloth to wipe the surface. Do not use harsh chemicals or rough sponges. Gentle cleaning keeps your design bright and prevents scratches.
Can I fix a blurry or smudged design?
You cannot fix a blurry or smudged design after pressing. Always double-check your alignment and settings before you press. Practice on a test blank if you feel unsure.