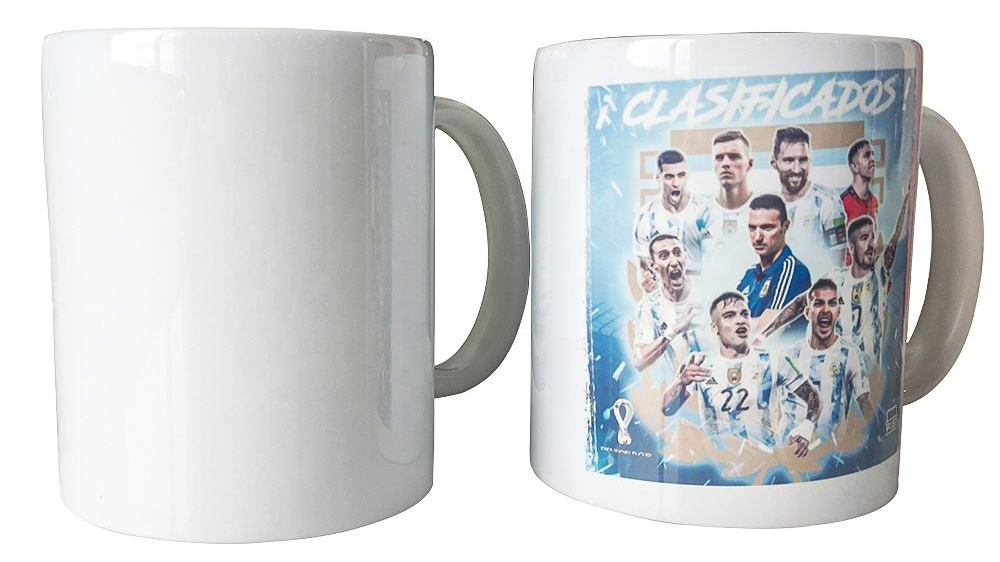
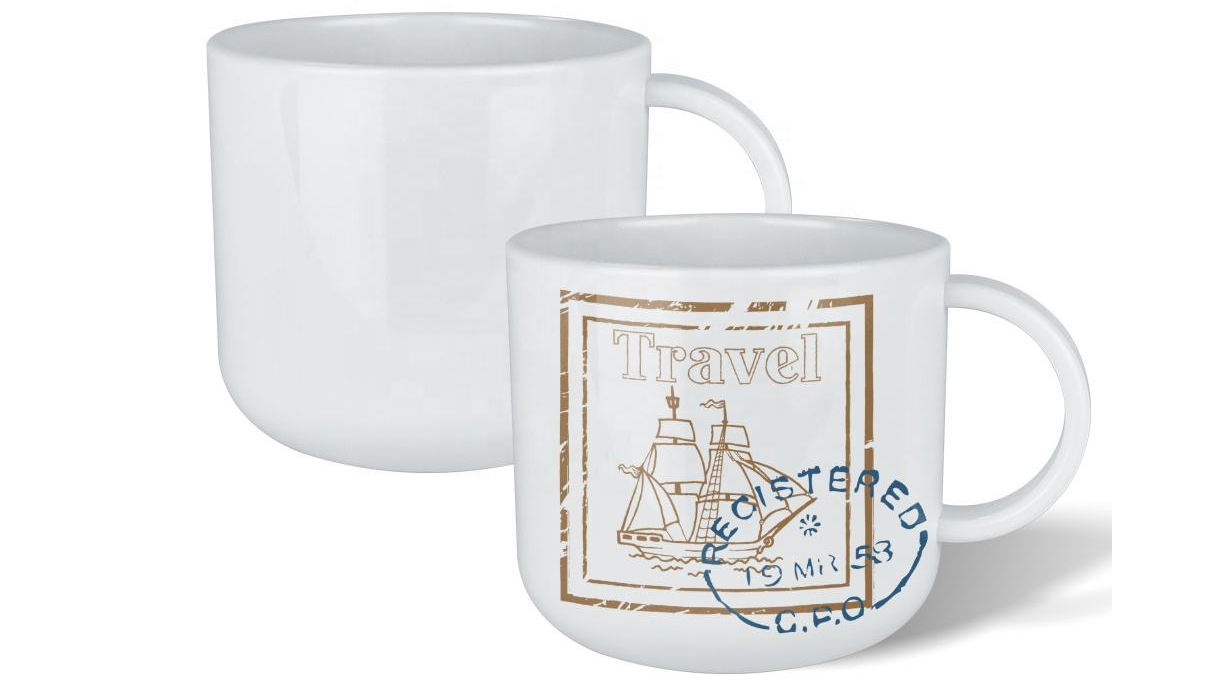
You can make personalized mugs with heat transfer in just a few simple steps. Start by creating your design, then cut it from heat transfer vinyl. Place the vinyl on your mug, apply heat, and finish with a cool-down. Many beginners love using HTV for customized mugs because you can use easy tools like a mini iron or EasyPress Mini. You do not need a fancy mug press to start your diy mug projects.
HTV works well with household tools and is perfect for diy gifts.
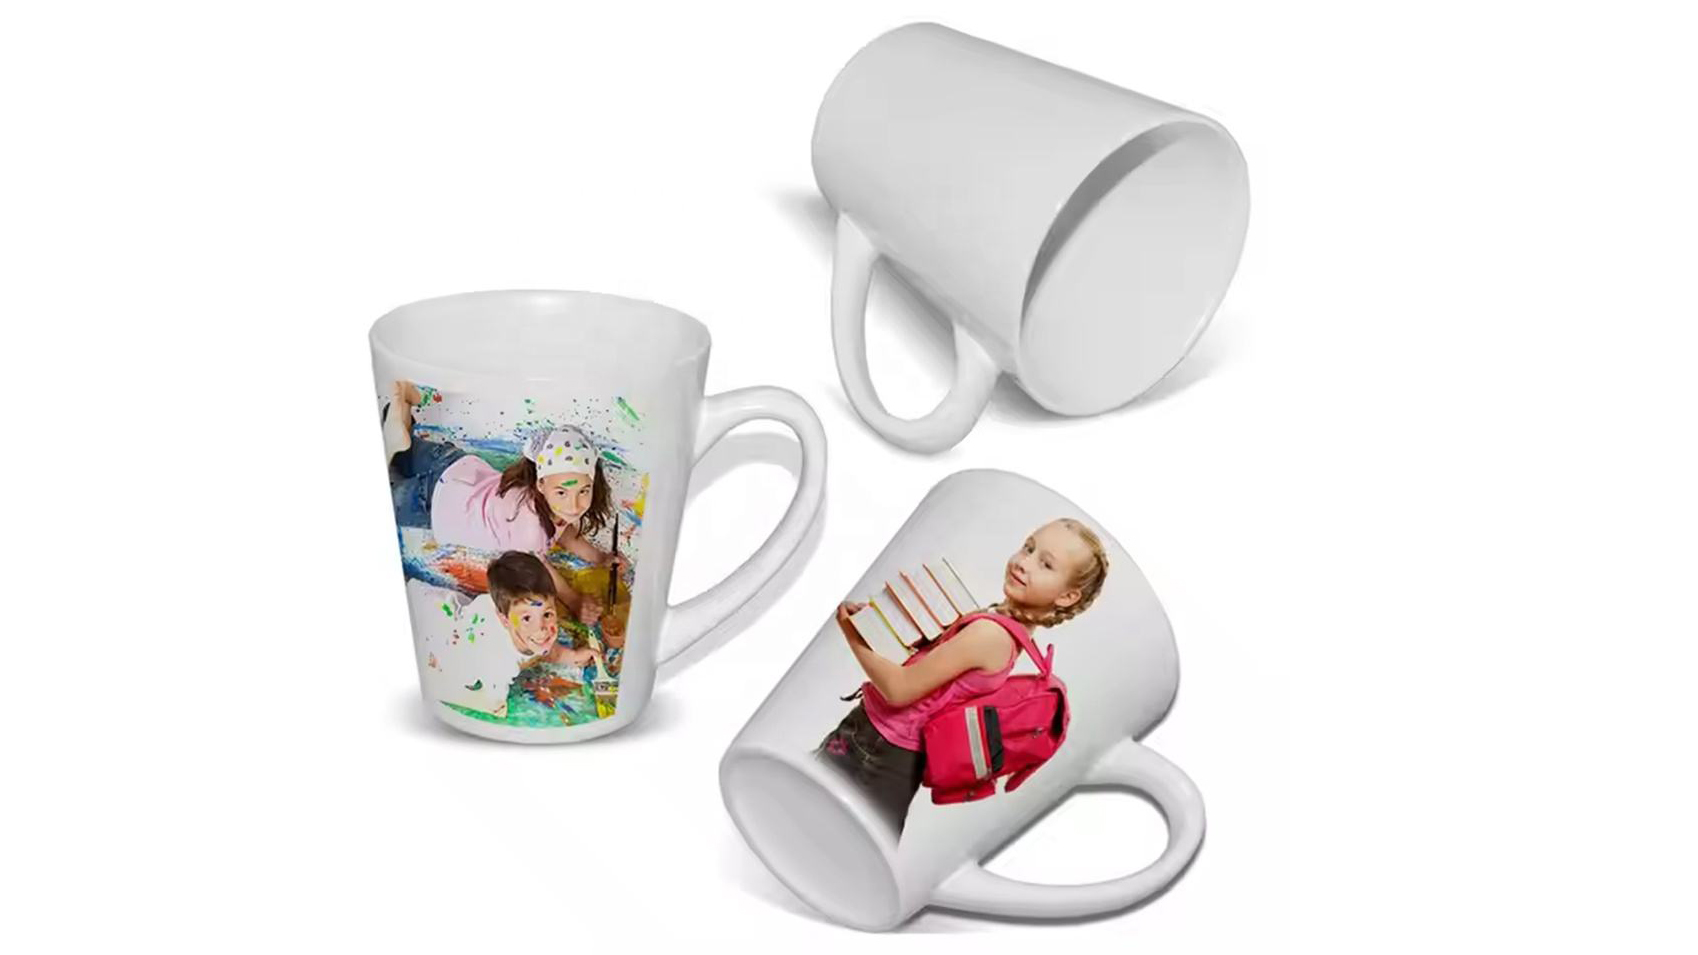
These mugs can handle hand washing, so your personalized mugs last longer.
If you want a step-by-step tutorial on how to make custom coffee mugs, you will find that diy mug crafting is fun and simple!
Control de llave
Use heat transfer vinyl and easy tools like an iron or Cricut Mug Press to make your own mugs at home.
Pick mugs that are made for heat transfer and have special coatings. This helps your designs stick well and last longer.
Clean your mug with rubbing alcohol before you put on the vinyl. This helps the design stick better and look new.
Always mirror your design before you cut it. Carefully remove extra vinyl so your mug looks neat and sharp.
Use a mug press or iron to add heat evenly. Let the mug cool down before you peel off the backing. This keeps your design strong and lasting.
Materials for Personalized Mugs
When you start making custom mugs, you need the right materials. Having the right supplies makes the process smoother and helps your designs last longer. Here’s a quick look at what you’ll need for using heat transfer vinyl on mugs:
Category | Essential Items for Making Personalized Mugs with HTV |
|---|---|
Materials | Ceramic mug, heat transfer vinyl sheets, rubbing alcohol (for cleaning), heat resistant tape (optional) |
Equipment | Cricut or Silhouette Cameo cutting machine, basic Cricut tools, household iron, clean dish towel |
Heat Transfer Vinyl Options
You have many choices when it comes to heat transfer vinyl. Some brands work better for mug projects because they are easy to cut, weed, and transfer. Here are the top picks:
Avance Vinyl: This brand offers lots of colors and styles, like glitter and metallic. You can use it on many surfaces, and it’s easy to work with.
Siser Easyweed: Many crafters love this vinyl. It’s easy to weed, durable, and works at lower temperatures. You don’t need a fancy heat press to get great results.
Starcraft Vinyl: This one is good, but you need transfer tape and must follow special care steps.
When you pick your heat transfer vinyl, look for quality and ease of use. These brands help your custom mugs look bright and last longer.
Tools for Custom Mugs
You need a few key tools to make your mugs stand out. The Cricut Mug Press is a favorite for many crafters. It gives a professional finish and works well with Infusible Ink. You can also use a regular heat press or even a household iron for simple designs. Make sure your cutting machine can handle detailed cuts and mirror your designs. The Cricut Maker 4 and Explore 4 are great choices for mug projects.
Always use mugs made for heat transfer or sublimation. These mugs have a special coating that bonds with the vinyl or ink. Your designs will look sharp and last a long time. If you want to try something different, you can use adhesive vinyl, but it does not last as long as heat transfer vinyl.
Tip: Clean your mug with rubbing alcohol before you start. This helps the vinyl stick better and keeps your design looking fresh.
Design & Cut Process
Create Your Custom Mug Design
You get to be creative when you start your mug design. Open your favorite design software. Many people use Cricut Design Space because it works well with the Cricut Mug Press and makes mug printing simple. Canva is another great choice. It has a user-friendly interface and lots of templates, so you can make a mug design even if you are new to this. Printify also lets you upload your own artwork or use built-in tools for transferring an image to a mug. If you want to try other options, Placeit and Freepik offer ready-made designs and mockups.
When you create your design, save it as a PNG file with a transparent background. PNG files work best for mug printing and image transfer because they keep your design sharp and clear. Make sure your design matches the size of your mug. A resolution of 300 DPI helps your mug look crisp and professional.
Consejo: Always mirror your design before cutting. This step is important when using heat transfer vinyl for mugs.
Cut and Weed Heat Transfer Vinyl
Now it’s time to cut your design. Place your heat transfer vinyl shiny side down on your cutting mat. Use your Cricut or Silhouette machine to cut the design. For the best results, do a test cut first. Adjust the pressure and speed based on your vinyl type and the details in your mug design.
After cutting, you need to weed the excess vinyl. Start from the corners and use weeding hooks, pens, or tweezers for small details. A light box or pad can help you see the cut lines better, especially for intricate mug printing projects. If your mug rolls around, use a silicone cup cradle to keep it steady.
A step-by-step tutorial makes using heat transfer vinyl easy, even for beginners. Take your time with weeding for a clean finish.
With these steps, you’ll master how to print on mugs and enjoy the process of mug printing at home.
Apply Heat Transfer Vinyl
Position and Secure the Design
Now comes the fun part—getting your design ready for the heat! You want your mug to look perfect, so take your time with this step. Start by placing your cut design right where you want it on the mug. Make sure it’s centered and straight. If you’re wondering how to put htv on a mug, this is where you line up your design and double-check the placement before you apply heat transfer vinyl.
To keep your design from shifting, use heat-resistant tape or a silicone wrap. These tools hold everything in place while you work. Here’s a quick look at some of the best options for mug projects:
Tape Type | Temperature Resistance | Key Properties | Suitability for Mug Projects |
|---|---|---|---|
High-Temperature Polyimide Tape (Kapton tape) | Up to 500°F / 260°C | Strong adhesion, no residue, various widths | Ideal for curved surfaces like mugs |
Heat-Resistant Silicone Tape | Up to 480°F / 250°C | Flexible, easy to apply, reusable, no residue | Excellent for curved surfaces, reusable |
Thermal Heat Tape | Up to 450°F / 232°C | Strong adhesion, easy to tear and apply | Suitable for various sublimation projects including mugs |
A silicone sublimation wrap kit works great for mug printing. It usually includes a flexible silicone clamp, polyester film tape, and even gloves to protect your hands. The silicone clamp fits snugly around the mug and keeps your design flat, which helps prevent wrinkles or bubbles during image transfer. The polyester tape sticks well, peels off easily, and doesn’t leave sticky marks behind.
Tip: Always clean your mug with rubbing alcohol before you apply heat transfer vinyl. This step removes oils and dust, so your design sticks better.
Apply Heat with Mug Press
Once your design is secure, you’re ready to apply heat transfer vinyl using the cricut mug press. This tool makes custom heat transfer easy and gives you professional-looking results. Set your cricut mug press to the right temperature—usually between 350°F and 400°F. Most mug printing projects need about 3 minutes of heat. Always check the instructions for your vinyl and mug to get the best results.
Here’s a simple step-by-step guide for using a cricut mug press or heat press:
Place your mug with the taped design into the cricut mug press.
Close the press and start the timer. Most mugs need 3 minutes at 350°F–400°F.
When the timer ends, carefully remove the mug. Use heat-resistant gloves because the mug will be very hot.
Set the mug on a heat-safe surface and let it cool for at least 20 seconds before peeling off the liner. For glitter vinyl, wait 30 seconds or more.
Peel the liner back slowly along the mug’s surface. Don’t peel while the mug is still hot—wait for it to cool a bit for the best adhesion.
Safety first! Always use your cricut mug press or heat press in a well-ventilated area. The plates get extremely hot, so keep your hands and workspace clear. Never use a damaged machine, and unplug it before cleaning.
If you don’t have a cricut mug press, you can still apply heat transfer vinyl with a regular heat press, a household iron, or even a heat gun. These methods work, but they need extra care. A heat press gives even pressure, but you must watch the temperature closely. An iron can work for small designs, but it’s hard to get even heat on a curved mug. A heat gun lets you target small areas, but you need to move slowly and press the vinyl down with a cloth as you go. Always keep a protective sheet between the heat source and the vinyl to avoid warping.
Note: Too much heat can crack or shatter your mug. Always use lower heat and check your mug often. Polymer-coated mugs work best for transferring an image to a mug, but you can use ceramic mugs if you seal them after.
After you apply heat transfer vinyl, let your mug cool down before you touch the design. This cooling step helps the vinyl stick better and keeps your image transfer looking sharp. If you want your mug to last longer, avoid putting it in the dishwasher. Hand washing is best for mugs with custom heat transfer designs.
With these steps, you’ll master mug printing at home. You can create amazing gifts or just enjoy your own personalized mug every morning!
Tips for Personalized Coffee Mugs
Durability & Care
You want your personalized coffee mugs to last a long time. Here are some easy ways to help your mug designs stay nice:
Clean your mug with 91% isopropyl alcohol and a lint-free cloth. This gets rid of dirt and oil, so your design sticks better.
Use a heat press that has good temperature controls. Follow the vinyl maker’s instructions for time, temperature, and pressure. This stops your design from peeling or fading.
Hold your design in place with heat-resistant tape or a silicone clamp. This keeps everything still while you press or bake your mug.
For extra strength, bake your mug in the oven at 400°F for 15 minutes. Let it cool for at least 20 minutes before you take off any tape or clamps.
Pick mugs made for heat transfer. These mugs have a special coating that helps your design stay sharp and bright.
Tip: Wash your personalized coffee mugs by hand with a soft sponge. Do not use the dishwasher if you want your designs to look new.
Troubleshooting Custom Mugs
Sometimes, mug projects do not work out as planned. Here are some common problems and how you can fix them:
Peeling or Cracking: This can happen if the temperature or pressure is wrong. Check your heat press settings and use good vinyl.
Faded or Uneven Designs: This happens if the heat is not even or there is not enough pressure. Make sure your mug gets heated evenly and the design is pressed flat.
Design Shifts: If your design moves during pressing, use more heat-resistant tape or a tighter silicone wrap.
Cutting Issues: If your vinyl is hard to weed, check your blade and cutting pressure. A sharp blade and the right settings help a lot.
Here is a quick troubleshooting table for your personalized coffee mugs:
Problema | Solución |
|---|---|
Peeling | Change temperature/pressure, use good vinyl |
Fading | Check heat press time and even heating |
Uneven Transfer | Hold design tight, use correct pressure |
Shifting Design | Add more tape or use a silicone clamp |
If your mug design starts to fade or peel, try a finishing spray for extra protection.
With these tips, you can make personalized coffee mugs that are great gifts and last for years.
You now know how to make personalized mugs with heat transfer. Start by cleaning your mug, mirror your design, and use a cutting machine for the vinyl. Press the vinyl with a hot iron and peel the backing carefully. Try different diy styles like painted mugs, glitter finishes, or even minimalist art. These personalized mugs make unique gifts and work well for many gift ideas. Share your creations or explore more diy projects for even more fun gifts.
Preguntas frecuentes
How do I keep my mug design from peeling off?
Clean your mug with rubbing alcohol before you start. Use the right temperature and pressure when pressing the vinyl. Let your mug cool before peeling off the backing. Hand wash your mug to help the design last longer.
Can I use any mug for heat transfer vinyl?
You should pick mugs made for heat transfer or sublimation. These mugs have a special coating. Regular mugs might work, but the design may not last as long. Always check the label before you buy.
What if I don’t have a mug press?
You can use a household iron or a heat gun. Press down firmly and move slowly. A silicone wrap helps hold the vinyl in place. Results may not look as smooth as with a mug press, but you can still make great mugs.
Is heat transfer vinyl dishwasher safe?
Most heat transfer vinyl is not dishwasher safe. The heat and water can make the design peel or fade. Hand washing with a soft sponge keeps your mug looking new.