If you want to avoid common mistakes in sublimation printing, you must watch every step carefully. Getting ready is very important. When you pick the right printer, paper, and settings, your prints look better. Many people face problems like faded images, banding, or ghosting. These issues happen because of common mistakes in sublimation printing, such as clogged heads, dust on paper, or not mirroring images. These mistakes can ruin your prints. The good news is you can avoid common mistakes by learning easy fixes and developing good habits. Sublimation printing becomes easier when you check your tools, keep things clean, and follow the right steps.
Key Takeaways
Pick the right printer, ink, and sublimation paper. This helps your prints look bright and last longer. It also stops fading or peeling.
Always flip your image before you print it. Let your transfers dry all the way. This stops backward designs and smudges.
Press your blanks first to take out moisture and wrinkles. This makes your prints smooth and even. It also stops ghosting or faded spots.
Use the right temperature, time, and pressure for each material. This keeps colors from bleeding or banding. It also stops blurry images.
Keep your workspace dry. Use heat-resistant tape to hold transfers in place. Take care of your printer often for the best prints.
Sublimation Process Basics
What Is Sublimation?
You might wonder what makes sublimation different from other types of printing. Sublimation is a special process where solid dye turns straight into a gas when heated, skipping the liquid stage. This gas then bonds with polyester fabric or a polymer-coated surface. The result? Your design becomes part of the material, not just something that sits on top. That’s why sublimation prints last longer and don’t peel or crack.
Here’s how the sublimation process works:
You create a bright, sharp design using design software.
You print your design in reverse on special sublimation paper with sublimation inks.
You prepare your blank item, like a polyester shirt or a coated mug, by making sure it’s clean and smooth.
You line up the printed paper with your blank.
You use a heat press to apply the right amount of heat and pressure. The ink turns into gas and soaks into the blank.
You peel off the paper and let your item cool. Now you have a colorful, long-lasting print!
This process works on many items, including shirts, mugs, and metal panels. The science behind it makes your prints look professional and helps them stand up to washing and sunlight.
Why Mistakes Happen
Even though the sublimation process sounds simple, mistakes can sneak in at any step. You might use the wrong paper or forget to mirror your image before printing. Sometimes, you skip pre-pressing your blank, or you set the heat press to the wrong temperature. These small errors can lead to faded colors, blurry images, or prints that don’t last.
Tip: Always double-check your settings and supplies before you start printing. Little things, like dust on your paper or a clogged print head, can cause big problems.
Common reasons for mistakes in sublimation printing include:
Using the wrong type of paper or ink.
Not cleaning or prepping your blank before pressing.
Setting the heat press to the wrong temperature or pressure.
Handling the transfer paper too much after printing.
Ignoring color management or skipping printer maintenance.
When you pay attention to each step in the process, you avoid most of these issues. Regular practice and careful setup help you get the best results from your sublimation projects.
Avoid Common Mistakes in Sublimation Printing
Wrong Printer or Ink
Many people use the wrong printer or ink. This is a common mistake in sublimation printing. Not every printer or ink will work for sublimation. You need a special printer and good sublimation ink. If you use regular ink or the wrong printer, your prints will not last. They might fade, bleed, or peel off fast. Tests show that using the wrong printer and ink makes colors look bad. The ink may not stick well or the transfer may not finish. Your design can look dull, patchy, or even wash away after a few washes.
Here are some problems you might see:
Prints lose color or fade after washing or sunlight.
Ink peels or does not stick to the blank.
Images look blotchy, streaky, or unclear.
Ink bleeds and makes messy or patchy prints.
Wrong printer settings can change colors or cause print errors.
To stop these problems, use a printer made for sublimation. Always use the right ink for your printer. Check the table below for some good choices:
Epson Printer Model | Recommended Ink Brand & ICC Profile | Notes |
|---|---|---|
Epson EcoTank ET-15000 | Printers Jack Ink with matching ICC | Great for big sublimation prints |
Epson WorkForce WF-7720 | Printers Jack Ink WF-7720 ICC Profile | Good results on transfer paper |
Epson EcoTank ET-8550 | Printers Jack Ink EcoTank ICC Profile | Bright, full-color designs |
Epson EcoTank ET-4760 | Koala Ink EcoTank ICC Profile | Bright colors and sharp details |
Epson SureColor F570 | Koala Ink SureColor ICC Profile | High-quality, big prints |
Epson Expression Photo XP-15000 | Koala Ink XP-15000 ICC Profile | Photo-like transfers on fabric |
Tip: Always use the ICC profile that matches your printer and ink. This helps you get the right colors and the best prints.
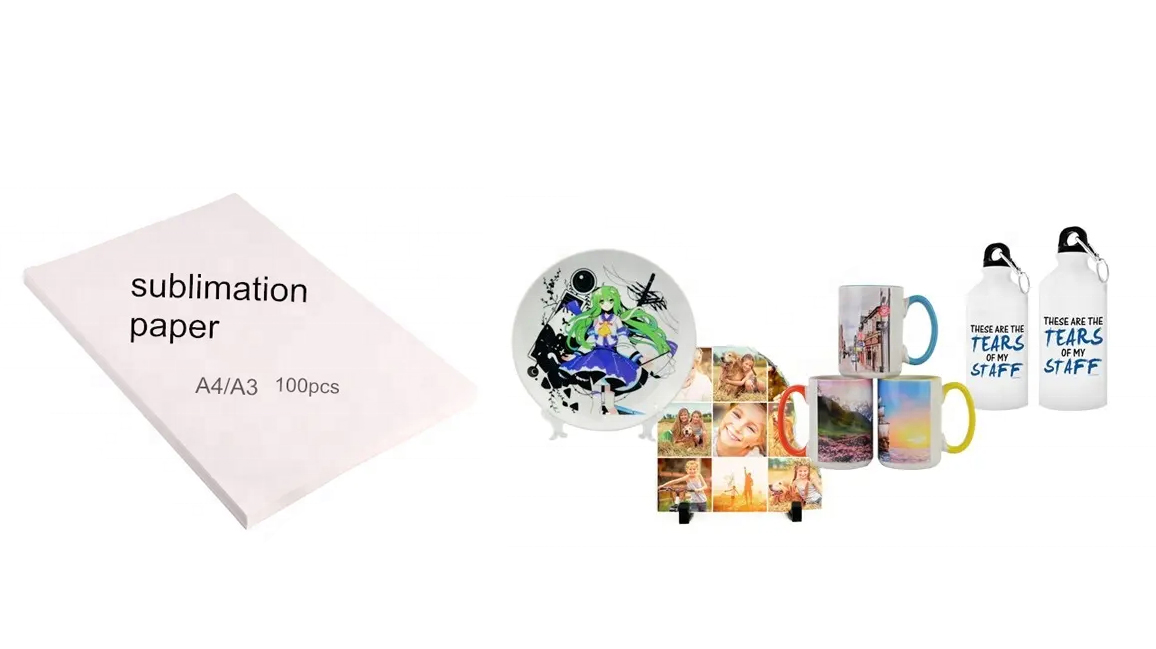
Incorrect Sublimation Paper
Picking the wrong sublimation paper can mess up your prints. Not all papers are the same. Some work best with certain blanks or inks. If you use cheap or wrong paper, your image may not transfer well. You might see bleeding or colors that look strange. The paper holds the ink, so its quality is very important.
Studies show that good paper gives you sharp, bright prints. Bad paper causes faded colors and uneven transfers. To avoid mistakes, use high-release paper from trusted brands like TexPrint, Neenah, or A-Sub. Keep your paper in a cool, dry place to keep it working well.
Here are some tips for picking the right paper:
Use high-release paper for the best ink transfer.
Match your paper to your blank, like mugs or shirts.
Try different papers to see which works best for you.
Store paper in airtight bags with silica gel to keep out moisture.
Poor Image Mirroring
If you forget to mirror your image, your design will be backward. This is a common mistake in sublimation printing. It is a big problem for text or logos. Many people forget this step when they are in a hurry.
Here’s how to make sure you always mirror your image:
Select the image and use the “Flip Horizontal” or “Mirror” tool.
Check that all text and pictures face the right way.
Save your mirrored design before you print.
Note: Most design programs have a mirror option. Always check your settings before you print to avoid this mistake.
Incomplete Drying
If you do not let your transfers dry, you can have problems. Wet transfers can smudge, lose color, or transfer unevenly. Reports show that not drying your transfer makes your product look bad. It also adds moisture, which hurts quality. Your design may not transfer, or the colors may look faded and blurry.
To avoid this, follow these steps:
Let your transfer dry for at least 30-45 seconds.
Store your transfers in a dry place, away from humidity.
For mugs, use good paper and press for less time to stop ink bleeding.
Tip: Humidity slows drying and causes smudging. Keep your workspace dry for the best prints.
Skipping Pre-Pressing
If you skip pre-pressing, you can have problems with your prints. Pre-pressing takes out moisture and wrinkles from your blank. If you skip this step, you may see spots, faded prints, or ghosting. Moisture in the blank can make the ink transfer unevenly.
Here’s how to pre-press the right way:
Heat your press to the right temperature for your blank.
Put your blank in the press and pre-press for 5-10 seconds.
Use a lint roller on fabric to remove dust and fibers.
Make sure the surface is smooth and dry before you add your transfer.
Use heat-resistant tape to keep your transfer from moving.
Note: Pre-pressing is important for both fabric and hard blanks like metal or mugs. It helps you avoid mistakes and get bright, even prints.
Low-Quality Blanks
Using low-quality blanks is a big reason for problems in sublimation printing. Not all materials work for sublimation. The ink only sticks to polyester or polymer-coated blanks. If you use cotton or uncoated blanks, your design may fade, peel, or not transfer at all. Good blanks give you bright, long-lasting prints.
Here’s what to look for in a good blank:
Pick white or light-colored blanks for the best colors.
Use fabric with at least 65% polyester, but 100% is best.
Make sure hard blanks have a smooth, even coating.
Test a sample blank before you start a big project.
Pre-press your blank to remove moisture and wrinkles.
Troubleshooting tips: If your print does not transfer or colors look faded, check your blank’s material and coating. Good ink and the right blank make a big difference.
If you follow these steps, you can avoid mistakes and get great results. Most mistakes in sublimation printing are easy to prevent with the right steps and some practice.
Sublimation Settings and Technique
Temperature and Time Errors
You need the right temperature and time for good prints. If the heat is too low, your design will look faded or not finished. If you use too much heat or press for too long, colors can bleed or shift. Banding can also happen. To stop these problems, always follow the settings for each blank. Look at this table to help you:
Sublimation Substrate | Temperature (°F) | Time (seconds) | Pressure |
|---|---|---|---|
General Fabric | 320-383 | 45-80 | Medium to Heavy |
Linen | 420 | 45 | Heavy |
Canvas | 350 | 80 | Medium |
Aluminum | 350 | 45 | Medium |
Photo Slate | 350 | 300 | Light |
Ceramic | 350 | 150 | Medium |
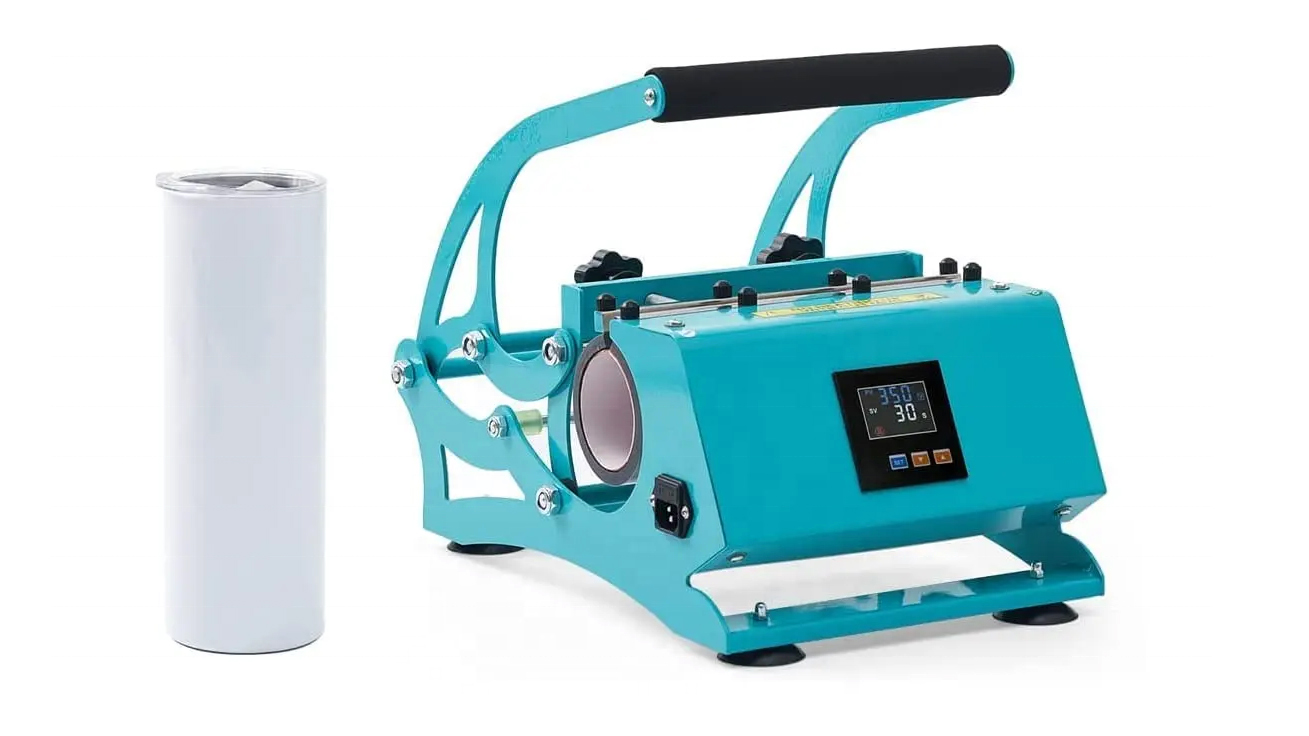
Mugs | 375 | 20 | Medium |

If you see ghosting or banding, check your settings again. Always test a small item before you do a big project.
Pressure Issues
Pressure is just as important as heat and time. If you use too little pressure, your print can look faded or not transfer right. Banding can also show up. Too much pressure can hurt your blank or make colors bleed. If the pressure is not even, you get patchy spots or ghosting. Most projects need medium or firm, even pressure. Change your press for the thickness of your blank. If you see faded spots or banding, check your press and make sure it is flat.
Tip: Using the same pressure every time helps you avoid many problems and keeps your prints looking good.
Paper Movement and Ghosting
Ghosting happens when the paper moves during pressing. This makes double images, blurry prints, or banding. To stop ghosting, open your press slowly and straight up. Use heat-resistant tape to hold the paper in place. You can also use sticky transfer paper or put a little water on the corners. Pre-press your fabric to take out moisture, which can make the paper move.
Explanation | Solution | |
|---|---|---|
Paper movement | Paper shifts during pressing | Use heat-resistant tape, open press slowly |
Uneven pressure | Poor contact causes ghosting | Adjust pressure, level the press |
Moisture | Steam lifts paper | Pre-press fabric, keep workspace dry |
Heat-Resistant Tape Use
Heat-resistant tape helps stop your paper from moving. Always pick tape made for high heat, like Kapton tape. Put tape on the edges of your transfer paper and press it down hard. Never use normal tape because it can melt or leave sticky stuff. Make sure the tape holds the paper tight but does not cover your design. This easy step stops ghosting and bleeding.
Color Problems
Color problems can look like fading, banding, or bleeding. Sometimes, colors do not match your design because of wrong printer settings, bad ink, or poor blanks. To fix color problems, always use the right printer settings and ICC profiles. Pre-press your blanks to get rid of moisture. Clean your printer heads often to stop banding. If you see bleeding, lower your time or heat. For blurry prints, check your image quality and do not press too long.
Note: Keeping your printer clean and testing different settings helps you fix most problems and keeps your colors bright.
Preventing Sublimation Mistakes
Moisture and Humidity
Moisture can ruin your sublimation prints before you even start. Humidity in your workspace changes how the paper and ink behave. When the air is too damp, your paper absorbs water, which leads to dull or fuzzy images. If the air is too dry, your paper can shrink or tear. You want to keep your room at the right humidity for the best results. Take a look at this table to see how different humidity levels affect sublimation:
Humidity Level | Effect on Sublimation Printing | Paper Stability | Recommended Actions |
|---|---|---|---|
High (Above 60% RH) | Dull or incomplete prints, poor ink transfer | Paper warps, jams | Store paper sealed, use dehumidifier |
Moderate (40%-60% RH) | Sharp, vibrant prints | Paper stays flat | Keep environment stable |
Low (Below 40% RH) | Uneven ink transfer, brittle paper | Paper shrinks, tears | Use humidifier, adjust print speed |
You can avoid problems by storing your paper in sealed bags with desiccant packs. Try to keep your workspace between 40% and 60% humidity. If you live in a humid area, a dehumidifier helps a lot.
Tip: Always let your paper and blanks sit in your workspace for at least 24 hours before you use them. This helps them adjust to the room’s humidity.
Substrate Preparation
Getting your substrate ready is a big step in sublimation. If you skip this, you might see faded spots, wrinkles, or blurry prints. Here are some easy steps to follow:
Pre-press your substrate for 5-10 seconds to remove moisture and flatten it.
Use a lint roller on fabric to pick up dust and fibers.
Store your sublimation paper in a cool, dry place, away from the floor.
Keep your blanks in a dark, temperature-controlled cabinet.
Secure your transfer paper with heat-resistant tape so it does not move during pressing.
When you follow these steps, you stop steam and wrinkles from ruining your print. You also get brighter colors and sharper images.
Printer Maintenance
A clean printer gives you better sublimation prints. If you ignore maintenance, you might see streaks, faded colors, or clogged nozzles. Here’s how you can keep your printer in top shape:
Clean the print heads often, especially if you have not printed in a while.
Run nozzle checks before you start a big project.
Use only high-quality sublimation inks made for your printer.
Print a test page every day to keep ink flowing.
Store your printer and ink in a clean, dust-free area.
Cover your printer when you are not using it.
Note: Keep a simple log of your cleaning schedule. This helps you spot problems early and keeps your prints looking great.
You can get great sublimation prints if you follow some easy steps.
Take off any protective masking before you press your item.
Use heat-resistant tape and make sure your press gives even pressure.
Choose the right ICC color profiles and test your colors first.
Keep your workspace tidy by using butcher paper.
These good habits help you spot mistakes early and get better prints each time. Using automatic checks and seeing previews helps you stop big errors. Each time you do sublimation, you learn something new. If you keep learning, your prints will keep getting better. 🌟
FAQ
What materials work best for sublimation printing?
You get the best results with polyester fabrics or blanks coated with a special polymer. Cotton and uncoated items do not hold the ink well. Always check the label before you start your project.
Why do my sublimation prints look faded?
Faded prints usually mean you used the wrong temperature, time, or pressure. Sometimes, low-quality blanks or old ink cause this problem. Double-check your settings and use fresh supplies for brighter colors.
How do I stop ghosting on my prints?
Use heat-resistant tape to hold your transfer paper in place. Open your heat press slowly and lift it straight up. Pre-press your blank to remove moisture. These steps help you avoid blurry or double images.
Can I reuse sublimation paper?
No, you should not reuse sublimation paper. Most of the ink transfers during the first press. If you try to use it again, your design will look faded and patchy.
Do I need to clean my printer often?
Yes, you should clean your printer heads and run nozzle checks often.
Regular cleaning keeps your prints sharp and stops clogs.
A clean printer gives you better results every time.